|
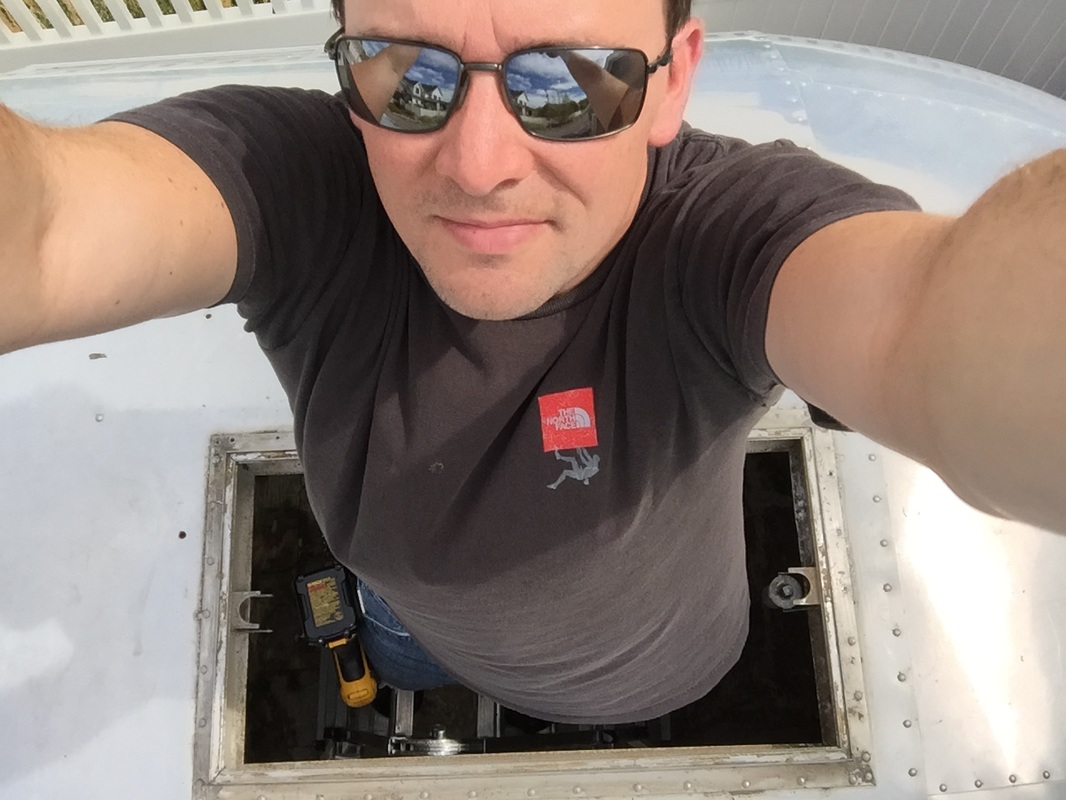
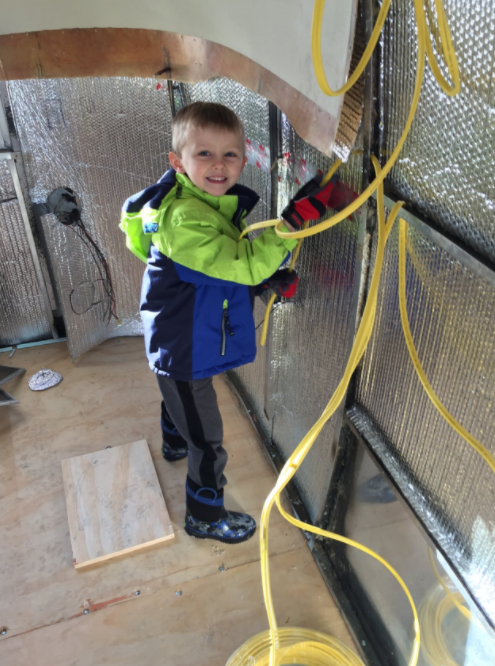
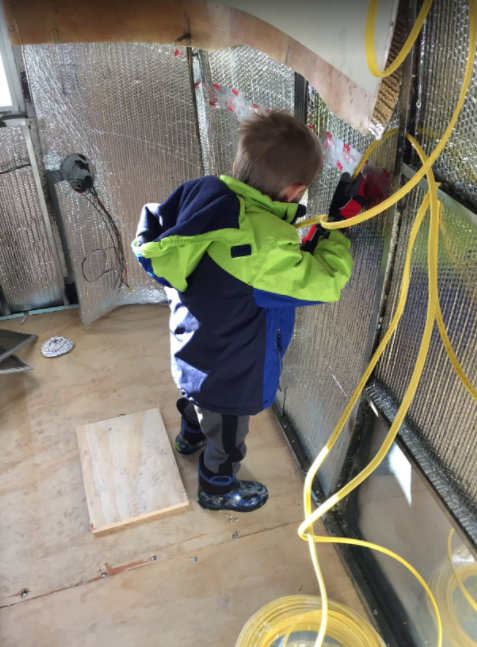
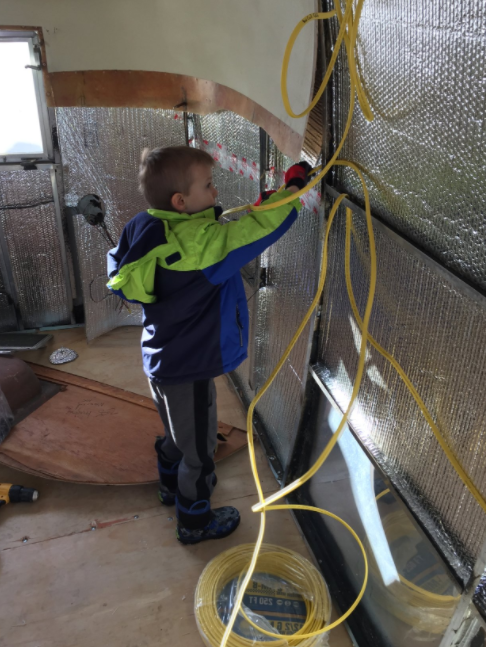
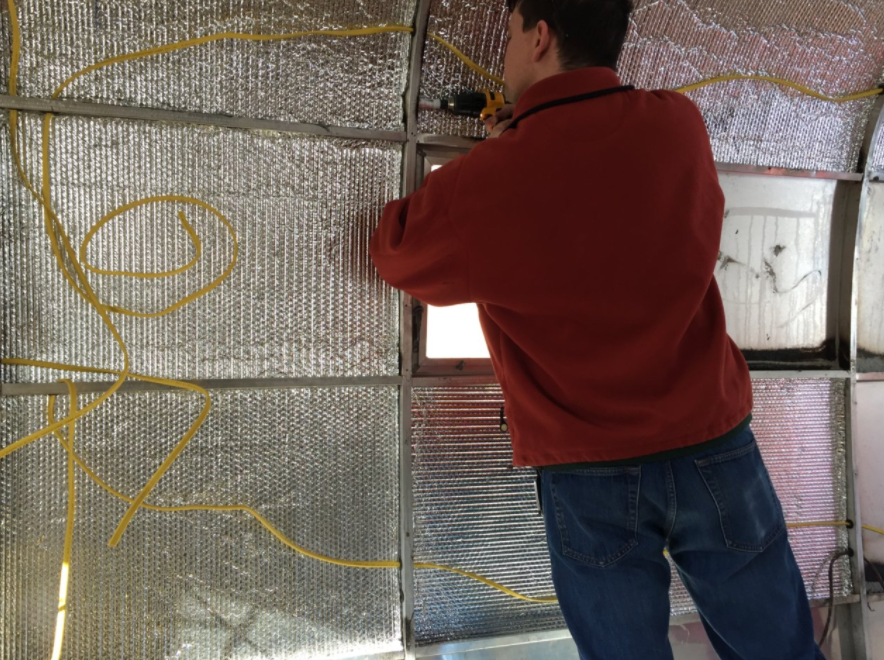
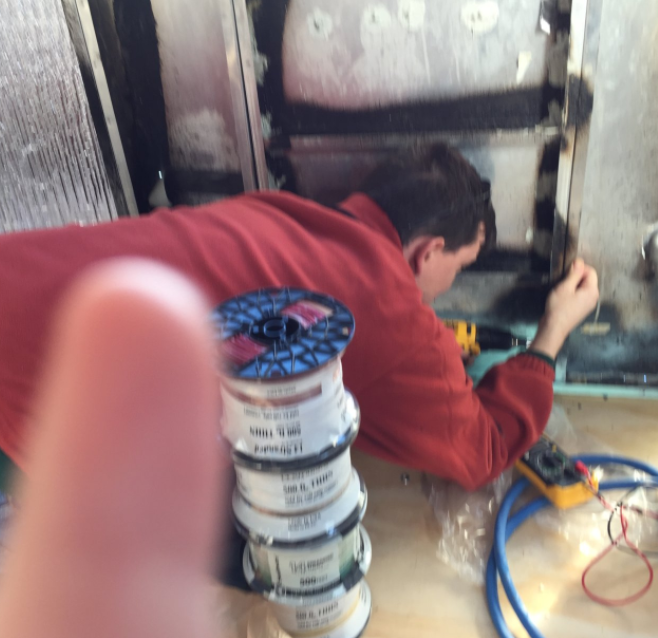
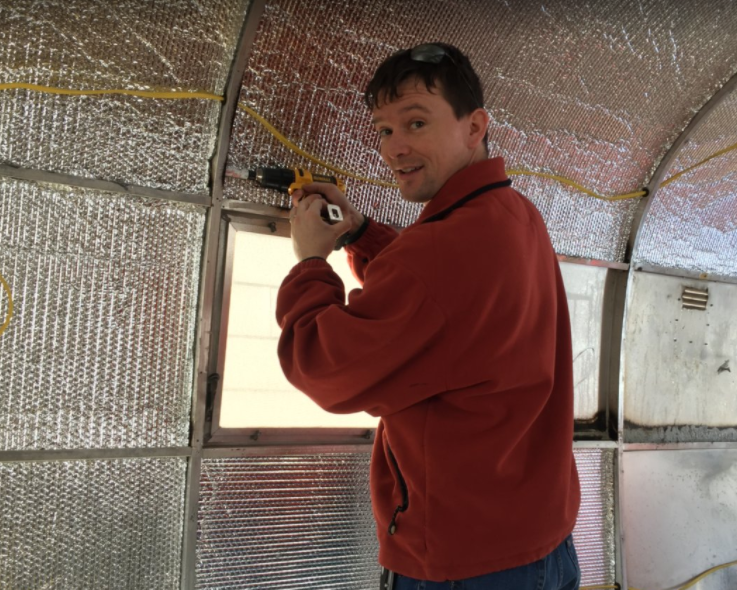
I'm not sure if I've already mentioned this, but I'm regularly surprised at how long every step takes. Sara says this is because I teach 1st grade. Whole lessons can take as little as 8 minutes. The number of unique plans we complete in class in a day usually number well above 10. I started wiring a few weeks ago. In my mind I think, "First step: pull all the AC wire. 20 min. Second step: pull all the DC wire. There's a few more lines to do in DC. Maybe about 30 minutes. Third step: solder and heatshrink. 20 more minutes? So I should be done in two hours, tops." But, I'm still wiring. Anyway, I started by deciding on the best place for the new electrical panel. I decided to put it in the streetside closet nearest the bathroom. However, I haven't bought the panel because I'm planning on buying an all-in-one converter & distribution panel. It's pricy and my budget/savings is getting to the I've-got-to-make-hard-decisions point. We will camp this summer, but probably not with working electricity. 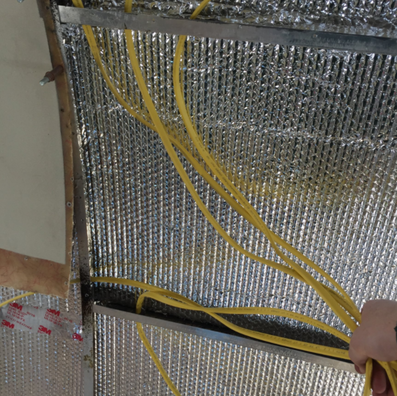 Eventually the electrical panel will mount here. From this spot, my helper and I ran all of the AC wiring. He took a bunch of photos of me too: Basically, it just takes planning for each outlet/AC line. I planned lines for possible AC outlets, kitchen appliances, bathroom outlets, and an extra line for air conditioning. I'm not planning on putting in an air conditioner (we will mostly camp in the mountains), but I want everything there if I change my mind someday. Then I drilled new holes, installed rubber grommets to protect the wires, and pulled the wire. Next, I moved onto the DC wiring. For those that might not know, Airstreams have two different electrical systems. Alternating current or AC (all the yellow wires above) is your typical house current. It only works inside the Airstream when plugged into shore power - like at a house or RV park. On the other hand, direct current, or DC, is essentially battery power. There will eventually be two deep-cycle AGM batteries that power the lights, water pump, assorted appliances, safety detectors, etc. Most of the electrical functions of the trailer will run off of DC power. A charger that runs off AC will recharge the batteries once they get drained. In addition, there is an umbilical cord that runs from the tow vehicle to the trailer that powers and controls all of the running lights, brake lights, and turn signals. I started by rolling all the spools of wire randomly around the trailer. It turned out that dealing with 6 spools of heavy wire requires a system. So I built a little cradle. 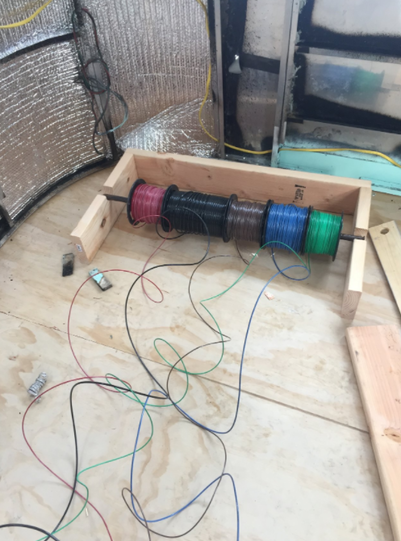 Each of those wires is a different color for a different function. In addition, the some are different gauges:
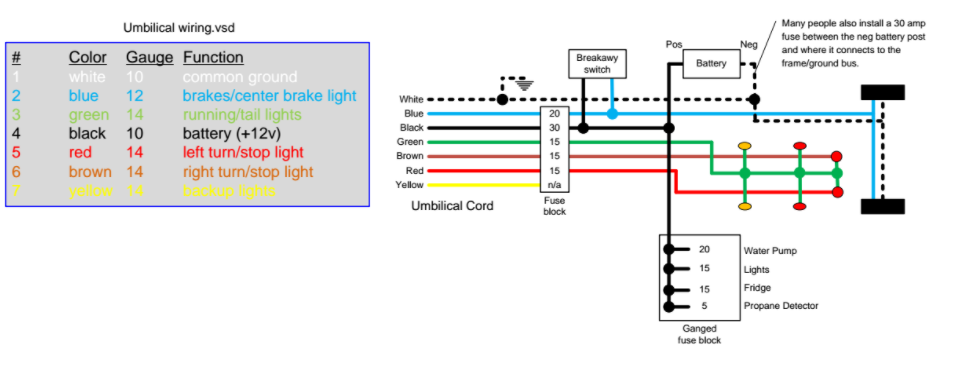 I got this diagram somewhere on the internet long ago. Probably on www.airforums.com. I couldn't find the source or I'd have linked to it. 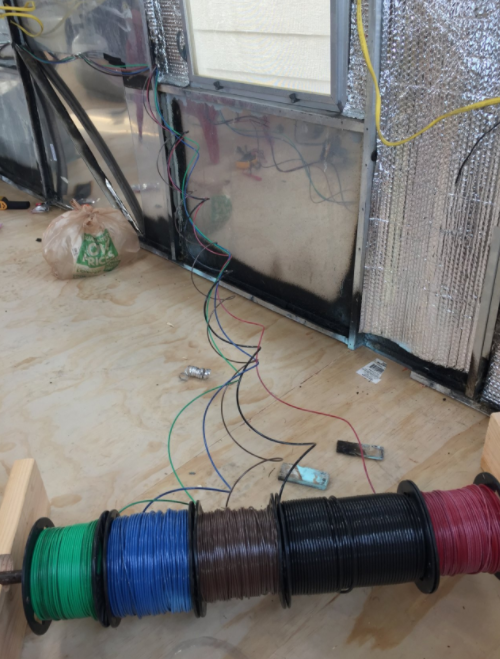  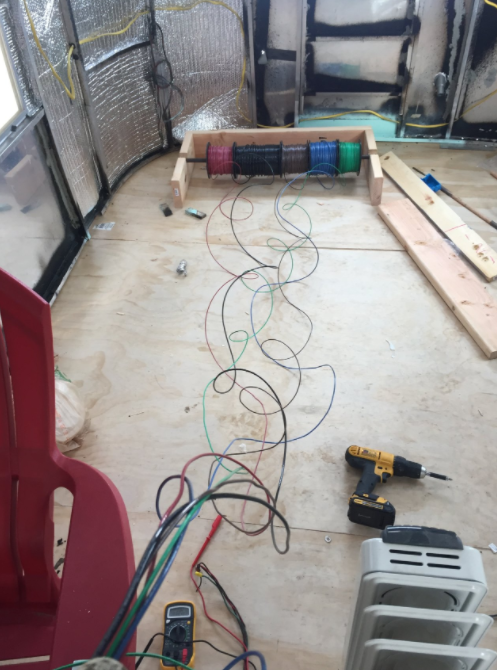 So that's where I'm at. I assure you that it's taken me longer than two hours. I think I'll be done with running wires, soldering and heatshrinking in about 45 minutes.
0 Comments
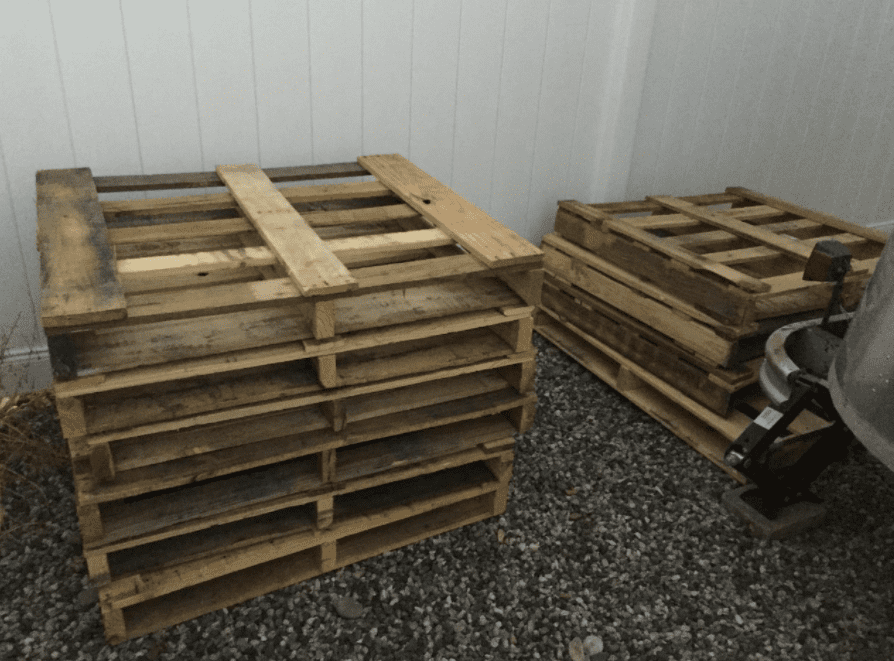
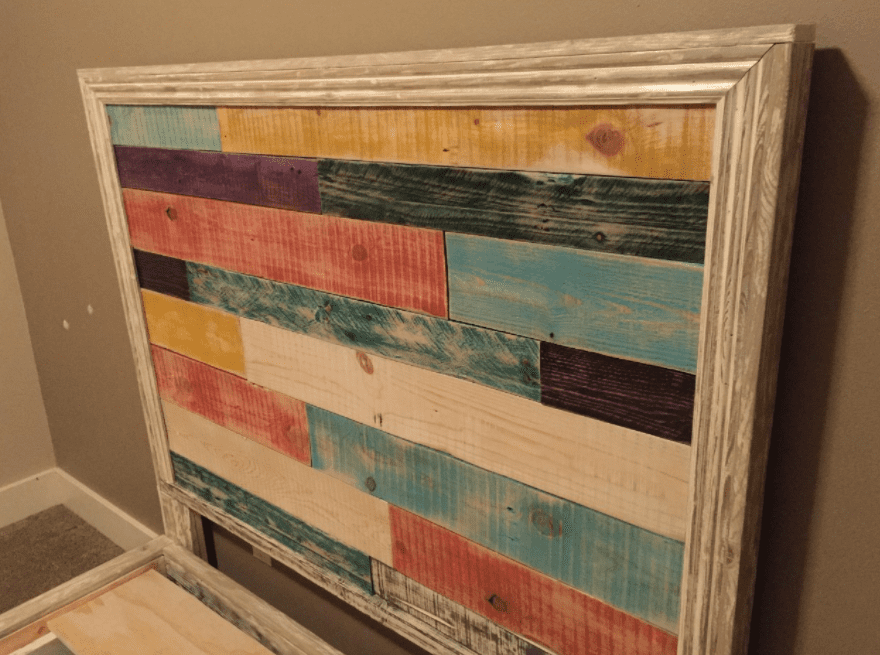
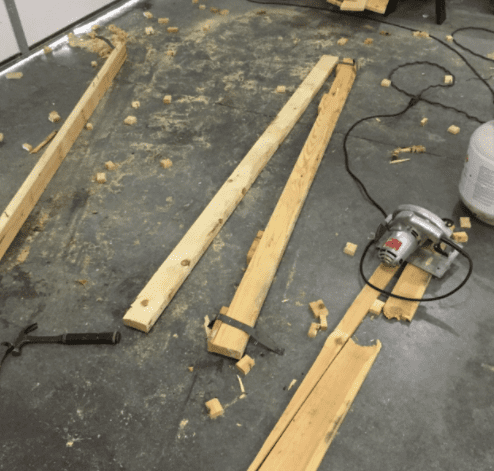
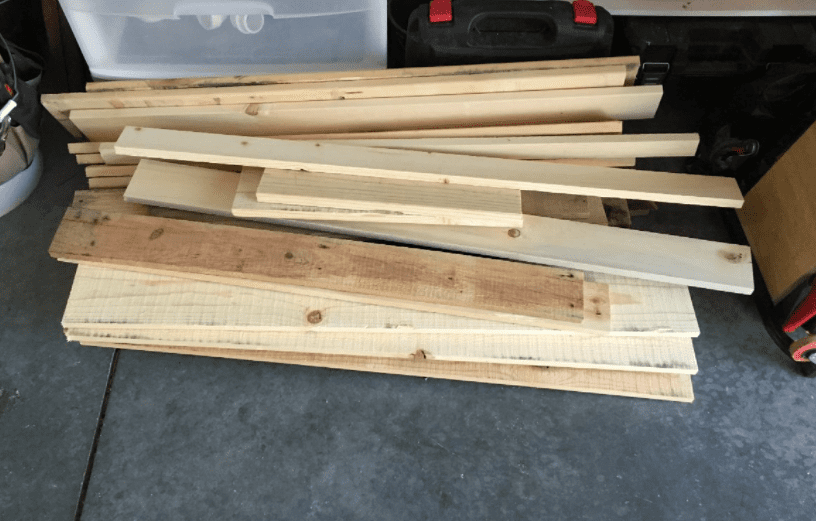
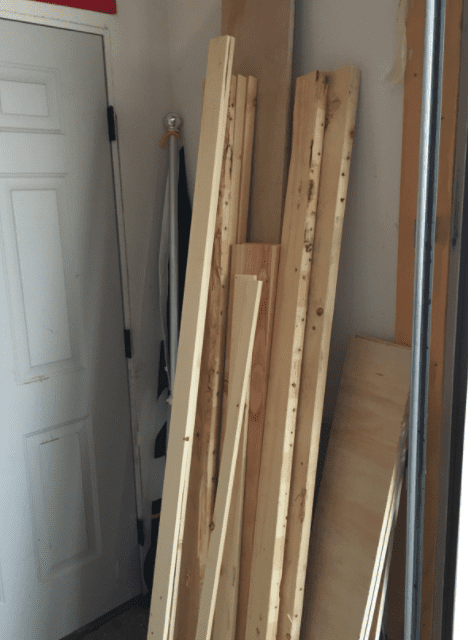
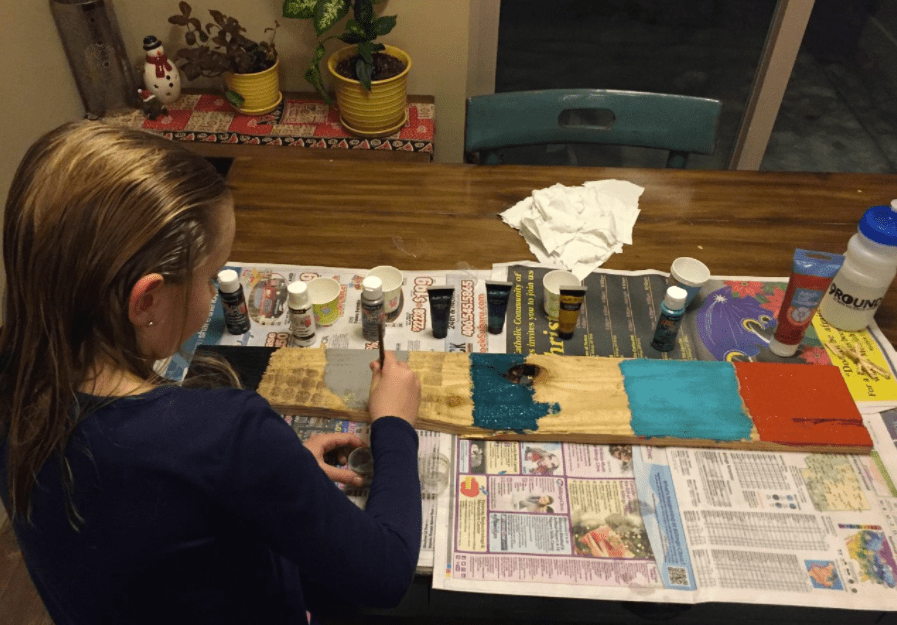
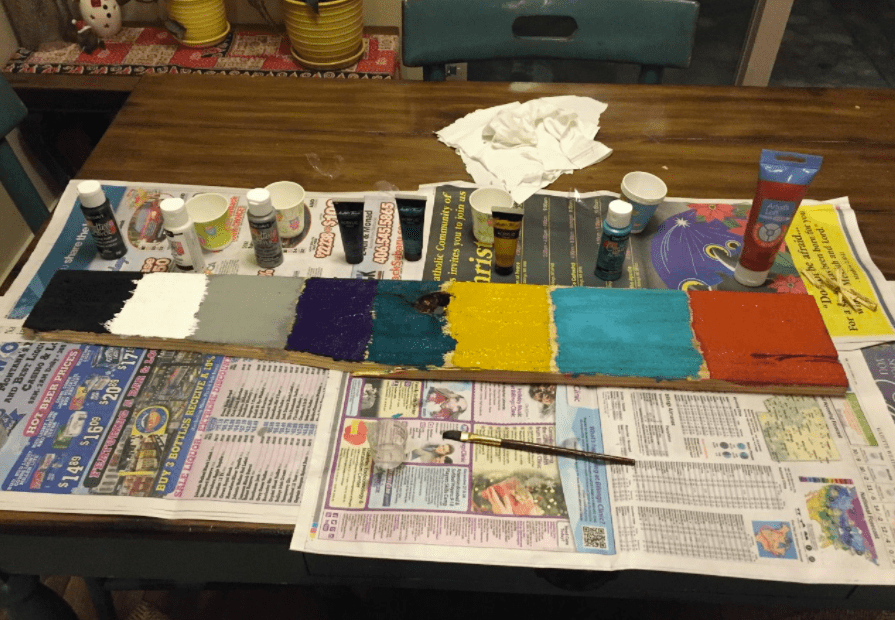
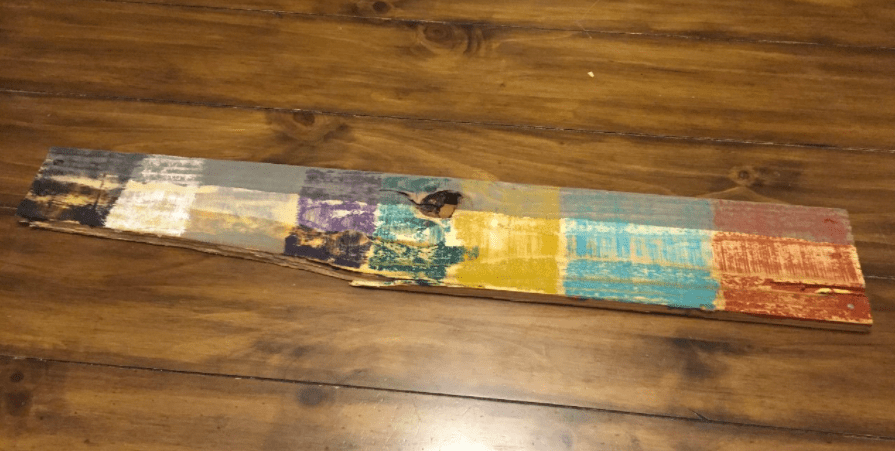
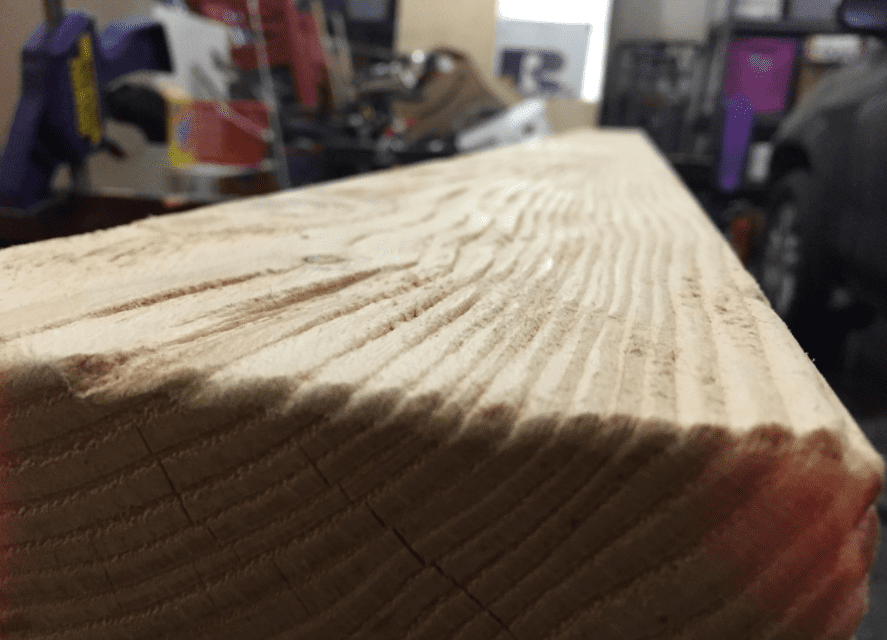
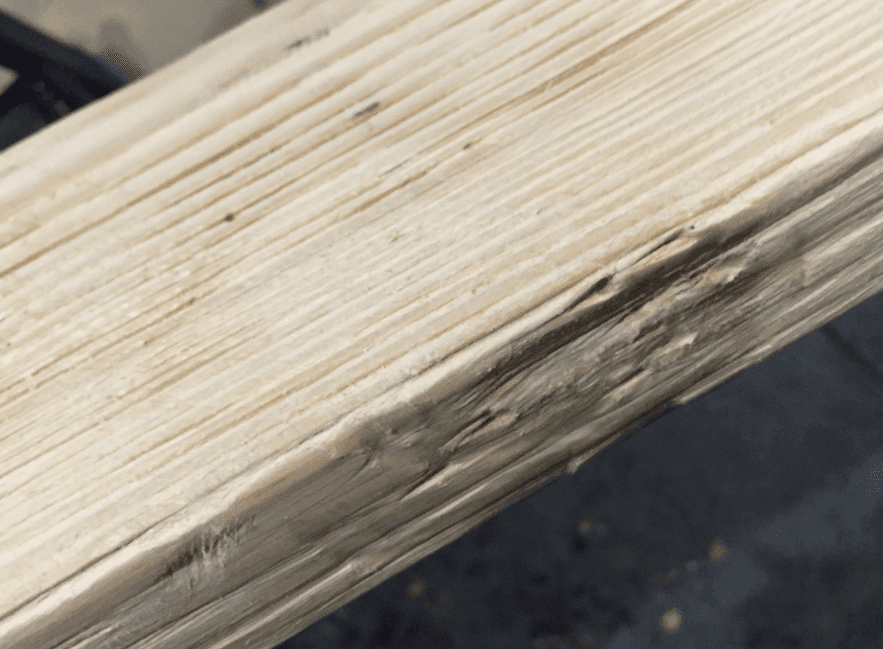
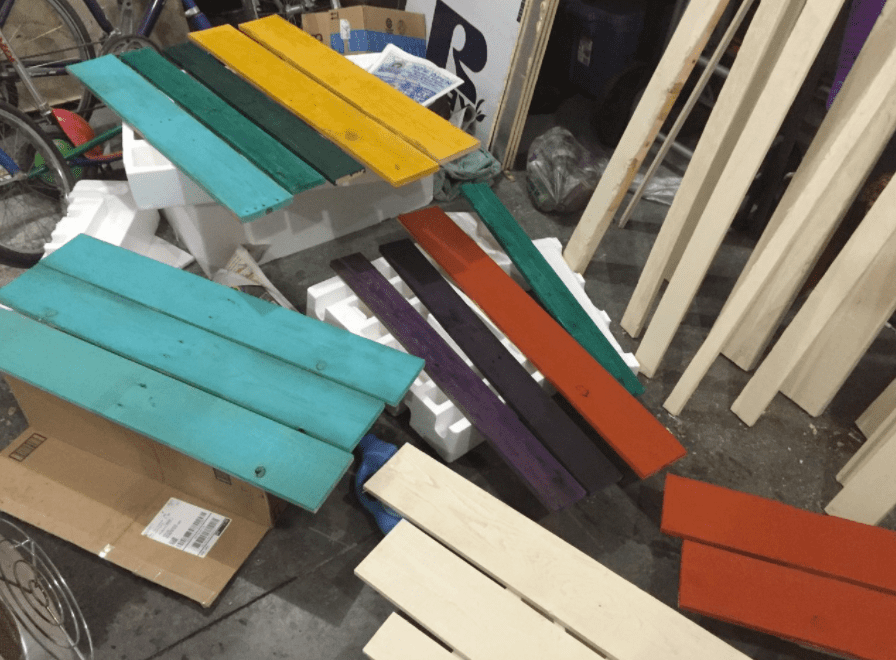
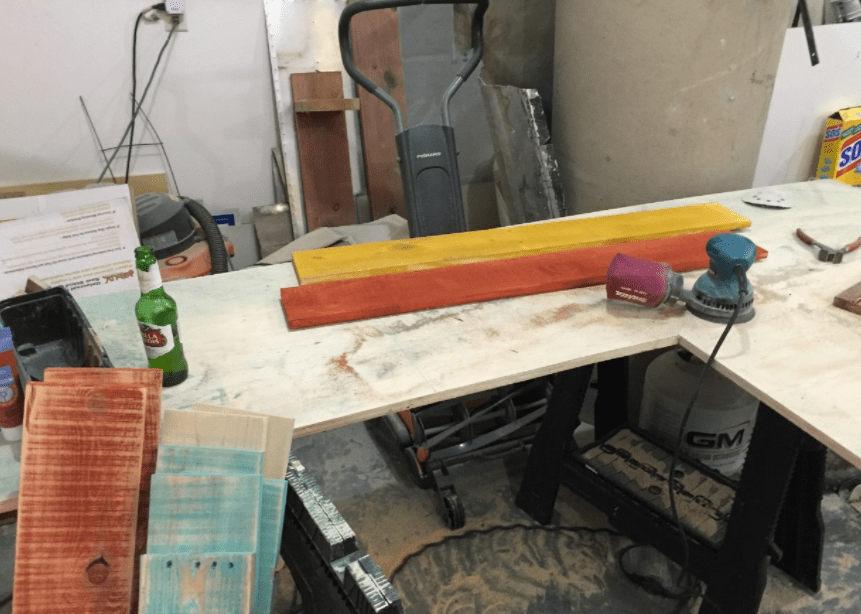
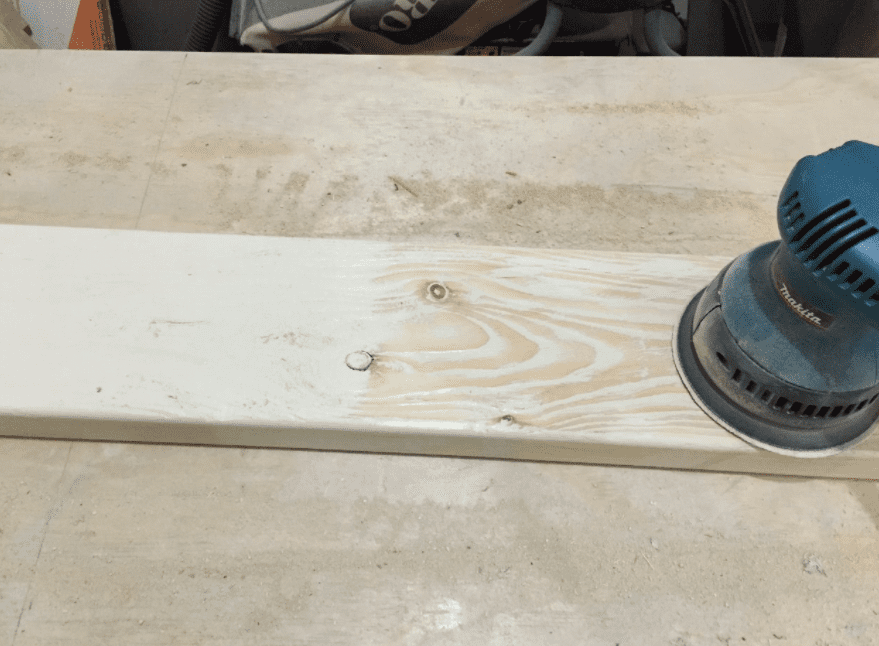
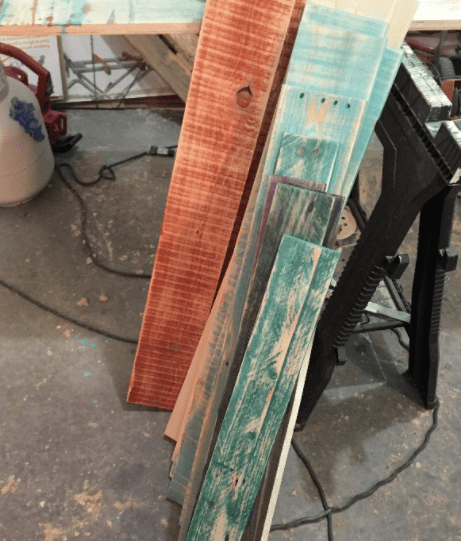
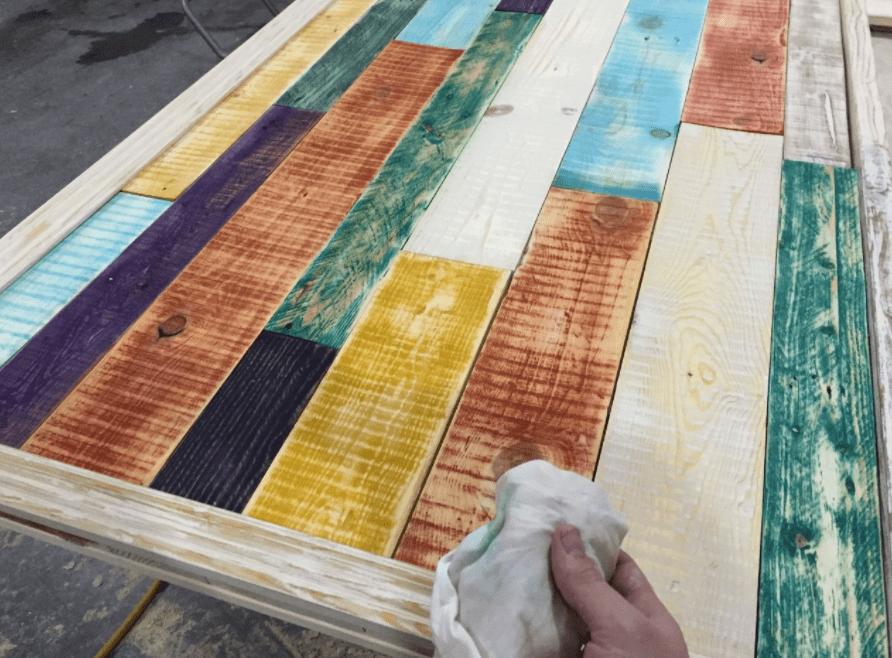
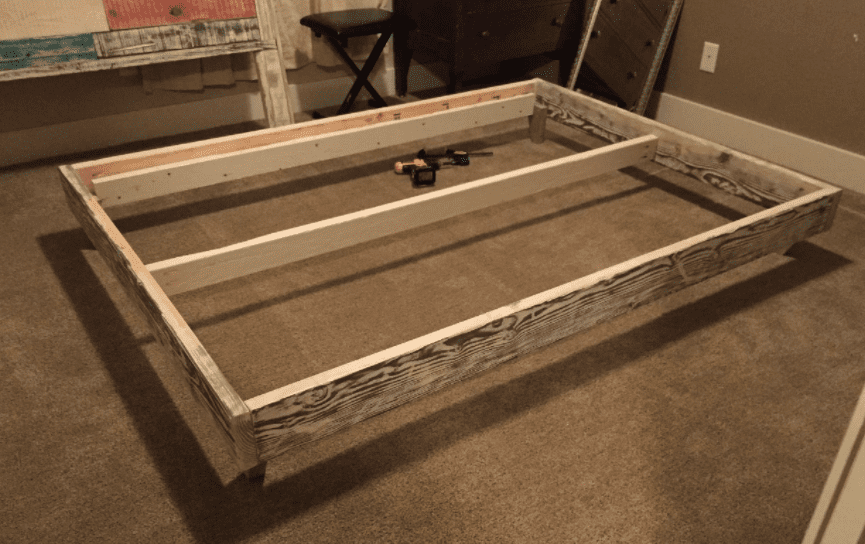
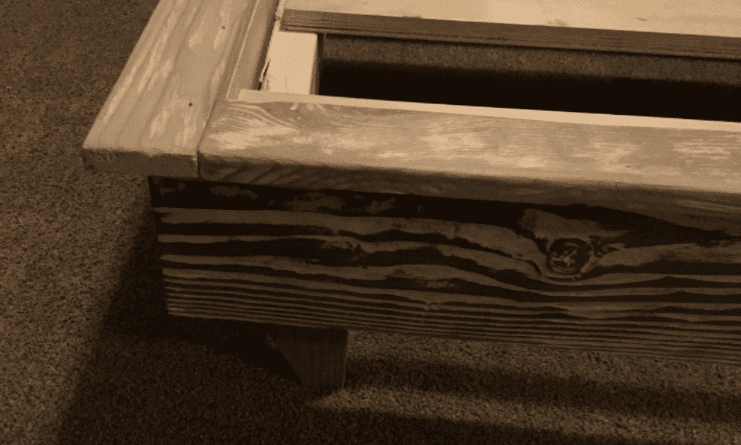
Since my last post about the new subfloor, the weather in MT has made working on Eisley (the name of my Airstream) less desireable. Over the last month we've had 29 inches of new snow. The temperature has dipped below -20°F for multiple days; today's balmy high was 5°F. So this post is off-topic, as my work has been off-topic. My extended family was planning on coming to town over Christmas and our guest room lacked a bed. So I went out to my stack of pallets (which were a lot more snowy than this!) and made them into a bed. Here's how: First I ripped the pallets apart with a table saw. The bulk of the lumber, headboard slats and the 2x4s for the bedframe, came from the pallets. It was pretty easy using my circular saw. Once the pallets were torn apart, I got help with color from our resident artist. My daughter and I made one of the broken pallet pieces into our test board. We used regular acrylic-latex paint (your typical indoor wall paint and/craft paint) and painted it on thick. The trick is to really get the paint into the low spots on the rough wood. You can even thin the paint a little, if needed. (I only ended up thinning a few colors that I didn't quite have enough of for the whole project.) After the paint dried, I sanded the board with 60-grit sandpaper and my orbital sander. This removes the paint from the high spots and exposes bare wood for staining. Along the length of the board, so that it overlapped each paint color, we tested two different stains and left the center natural. The homemade stain was our favorite of the three treatments. It is really easy to make and totally wild to use. Take a glass ball jar (or whatever) and put in one piece of fine steel wool (I used 0000). I pulled it apart and covered it with two cups-ish of white vinegar. The crazy part of this stain is that its darkness totally depends on how long you leave the steel wool in the vinegar. I left it in for about 4 hours for this bed, which is really light. From 4-12 hours the stain ends up being shades of grey, beyond that the stain becomes shades of brown. Here's a great youtube video about it. In case you don't watch the video, just know that the stain takes time to develop after you wet the wood with it. Come back a day later and it looks totally different. Next I bought the few pieces of lumber that the pallets could not provide. (However, I spent less than $50 and the bulk of the lumber came from the pallets!! Just sayin.) I bought 2x6s for the bedframe support, cheap furring strips for trim, and some molding. The two peices of molding were, by far, the most expensive lumber. I should have gone to the Habitat restore for it, but I was cruched for time. I bet I could have halved this lumber cost, if I had. The problem with new wood is that it has no character compared to the rugged pallets. So I took matters into my own hands. I used my angle grinder with a wire attachment and sanded (ground?) out the soft wood. It left those awesome ridges in the middle pic above. Then I imagined a story for each piece of wood, some spots got banged up with a hammer, some got extra nail holes or deep scratches. Every new piece got this treatment, even the trim. I really thought I was going too far, but in the end it was just enough. I think it would be hard to add too much texture. Next I painted my boards. The headboard pieces each got a color and the frame/trim got white. From here, it was really basic carpentry. I put the headboard together, stained it as a unit with the vinegar/steel wool mixture and finally sealed it with several coats of polycrylic. I did stain/seal the frame pieces separately before assembling them. Also, I used a matt finish because I wanted it to look weathered, not shiny. If you'd like plans and dimension for the bed, you can find them at www.ana-white.com. It is a great site for free woodworking plans. I have not been totally idle in my Airstream work. Next time I'll update you on the new progress there. Yellow snakes are invading!  |
AuthorI'm not an Airstream Jedi, yet. Airstream Jedi would have sounded presumptuous, like I know what I'm doing. That couldn't be further from the truth. Padawan is a title I can hope to live up to. Favorite Links:Knots Per Hour
My friend Mike is building an airplane. Check it out. Archives
August 2018
Categories |


 RSS Feed
